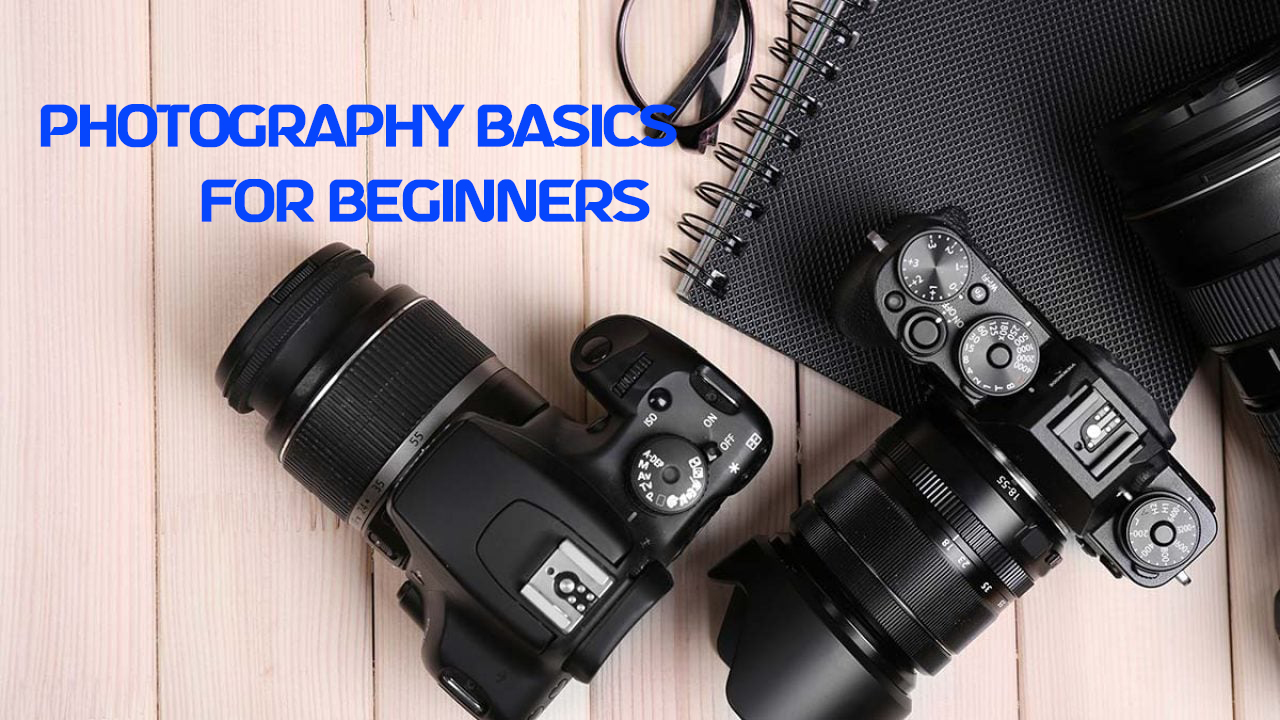
Photography is the art and science of capturing images through the recording of light. It involves the use of a camera to capture moments, scenes, and subjects, preserving them as photographs. This practice blends technical skills, such as understanding camera settings and lighting, with creative vision to produce compelling visuals.
1. Understanding Your Camera
Types of Cameras:
- DSLR (Digital Single-Lens Reflex): Offers versatility with interchangeable lenses and manual controls.
- Mirrorless Cameras: Compact with interchangeable lenses and electronic viewfinders.
- Point-and-Shoot Cameras: Simple, portable, and good for casual use.
- Smartphone Cameras: Convenient and increasingly capable, great for everyday photography.
Basic Camera Components:
- Lens: The glass element that focuses light onto the camera sensor.
- Sensor: Captures the image; larger sensors generally provide better quality.
- Viewfinder/Screen: Used to compose the shot.
- Buttons and Dials: For controlling settings like mode, aperture, shutter speed, and ISO.
2. The Exposure Triangle
The exposure triangle is the foundation of understanding how to properly expose your photos. It includes Aperture, Shutter Speed, and ISO.
Aperture (f-stop):
- Controls the size of the lens opening.
- Affects depth of field (how much of the scene is in focus).
- Measured in f-stops (e.g., f/2.8, f/5.6, f/16).
- Larger aperture (small f-number): More light, shallow depth of field.
- Smaller aperture (large f-number): Less light, deep depth of field.
Shutter Speed:
- Controls the duration the shutter is open.
- Affects motion blur.
- Measured in seconds or fractions of a second (e.g., 1/1000s, 1/60s, 1s).
- Fast shutter speed: Freezes action.
- Slow shutter speed: Blurs motion, useful for creative effects.
ISO:
- Measures the sensor's sensitivity to light.
- Affects image noise (graininess).
- Lower ISO (e.g., 100): Less sensitive, cleaner image.
- Higher ISO (e.g., 3200): More sensitive, more noise.

3. Composition Techniques
Rule of Thirds:
- Imagine your frame divided into a 3x3 grid.
- Place key elements along these lines or intersections to create a balanced composition.
Leading Lines:
- Use natural lines (roads, rivers, fences) to guide the viewer's eye through the photo.
Framing:
- Use elements in the scene to create a "frame" around your subject (e.g., doorways, arches, trees).
Perspective:
- Change your viewpoint (high angle, low angle) to add interest and variety.
4. Lighting Basics
Natural Light:
- Soft light: Overcast days, early morning, or late afternoon; flattering for portraits.
- Harsh light: Midday sun; can create strong shadows and contrast.
Golden Hour and Blue Hour:
- Golden Hour: The hour after sunrise and before sunset; warm and soft light.
- Blue Hour: The time just before sunrise and just after sunset; cool, diffused light.
Artificial Light:
- Use flash, continuous lights, or reflectors to control lighting conditions.
- Experiment with light placement and intensity.
5. Camera Settings and Modes
Auto Mode:
- The camera makes all the decisions; easy but offers no creative control.
Scene Modes:
- Preset modes for specific situations (e.g., portrait, landscape, sports).
Semi-Automatic Modes:
- Aperture Priority (A/Av): You set the aperture, the camera adjusts the shutter speed.
- Shutter Priority (S/Tv): You set the shutter speed, the camera adjusts the aperture.
Manual Mode (M):
- Full control over aperture, shutter speed, and ISO; best for learning and creative photography.
6. Focus and Depth of Field
Autofocus:
- Most cameras have multiple autofocus modes (e.g., single-point, continuous).
- Use single-point autofocus for still subjects and continuous autofocus for moving subjects.
Manual Focus:
- Allows precise control; useful in low light or macro photography.
Depth of Field:
- Controlled by the aperture setting.
- Shallow depth of field: Blurred background, good for portraits.
- Deep depth of field: Everything in focus, good for landscapes.
7. Post-Processing Basics
Editing Software:
- Popular tools include Adobe Lightroom, Photoshop, and free alternatives like GIMP.
- Basic adjustments: Cropping, exposure, contrast, color balance, and sharpening.
RAW vs. JPEG:
- RAW: Unprocessed image data; allows for greater flexibility in editing.
- JPEG: Compressed image format; more convenient but less room for post-processing adjustments.
8. Tips for Different Types of Photography
Portrait Photography:
- Focus on the eyes.
- Use a wide aperture to blur the background.
- Ensure good, even lighting on the subject.
Landscape Photography:
- Use a small aperture for a deep depth of field.
- Include foreground elements for depth.
- Shoot during golden or blue hour for the best light.
Macro Photography:
- Use a macro lens or close-up filter.
- Focus manually to ensure sharpness.
- Use a tripod to minimize camera shake.
Street Photography:
- Capture candid moments and everyday life.
- Be respectful and unobtrusive.
- Use a fast shutter speed to freeze action.
9. Practice and Experimentation
Practice Regularly:
- The best way to improve is to shoot frequently and review your results.
- Try different settings, compositions, and lighting conditions.
Join Photography Communities:
- Share your work and get feedback from others.
- Participate in photo challenges and contests.
Keep Learning:
- Read books, watch tutorials, and take courses.
- Follow photographers you admire for inspiration.
10. Building Your Gear Kit
Start with the Basics:
- A camera body and a versatile lens (e.g., 18-55mm kit lens).
Expand as Needed:
- Consider additional lenses based on your interests (e.g., a 50mm prime for portraits, a wide-angle lens for landscapes).
- Invest in a sturdy tripod for stability.
- Use accessories like filters, extra batteries, and memory cards.
Photography is a journey of discovery and creativity. Start with understanding your camera and the basics of exposure and composition. Practice regularly, experiment with different techniques, and continue learning. Most importantly, enjoy the process of capturing the world through your lens!
If you have any specific questions or need more detailed information on any topic, feel free to ask!


Comments & Discussion